One of the most important concepts in React is understanding how components communicate with each other. At first, this can feel confusing:
- Why do we pass functions as props?
- Why does the parent own the state?
- Why can't the child directly change the parent's data?
The answer becomes much clearer once we understand React's data flow architecture.
React's Core Principle
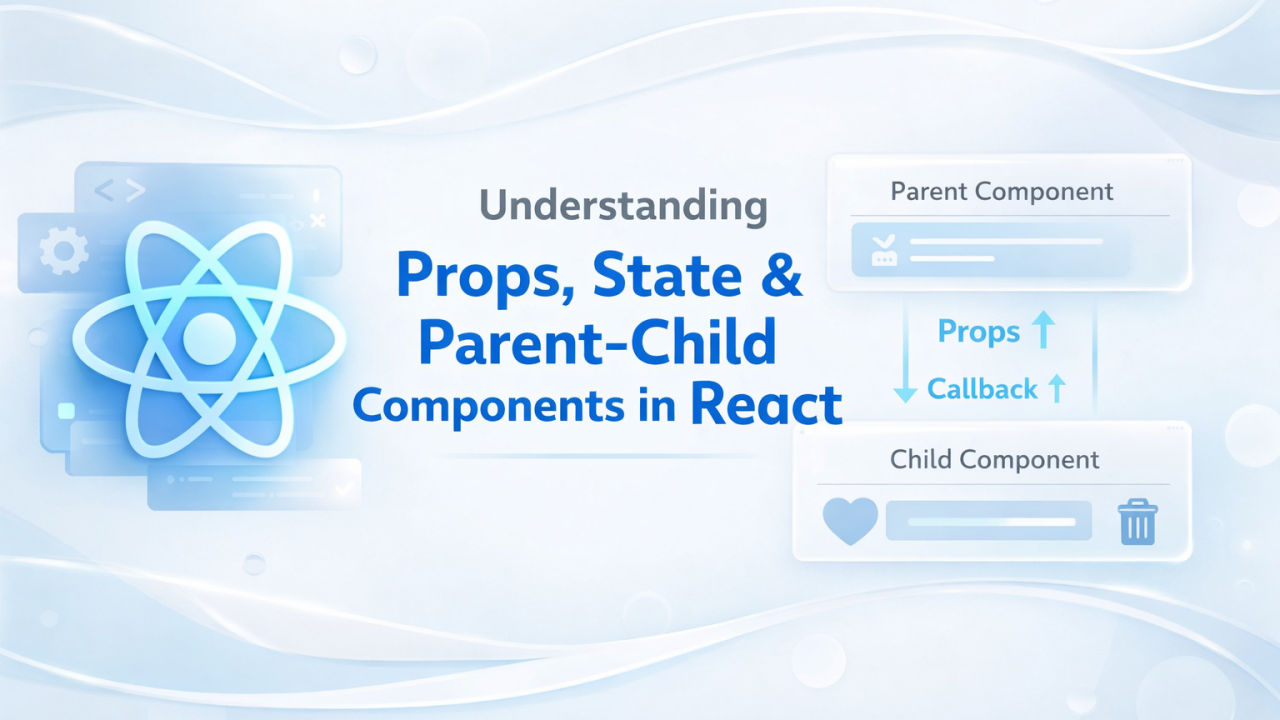
React follows a one-way data flow: Parent → Child. Data moves down through props, and actions move up through callback functions. A simple way to remember this:
Data Down ↓
Actions Up ↑
Example Scenario
Imagine a list of users. The parent component stores the users array and renders multiple child components, each with a Delete button. When the button is clicked, the child triggers an action, the parent updates the state, and React re-renders the UI.
Parent component
import { useState } from "react";
import UserCard from "./UserCard";

export default function App() {
  const [users, setUsers] = useState([
    { id: 1, name: "Parisa" },
    { id: 2, name: "Alex" },
  ]);

  const deleteUser = (id: number) => {
    setUsers(prev => prev.filter(user => user.id !== id));
  };

  return (
    <div>
      {users.map(user => (
        <UserCard
          key={user.id}
          id={user.id}
          name={user.name}
          handleDelete={deleteUser}
        />
      ))}
    </div>
  );
}
Child component
import { useState } from "react";

type Props = {
  id: number;
  name: string;
  handleDelete: (id: number) => void;
};

export default function UserCard({ id, name, handleDelete }: Props) {
  const [isFlashing, setIsFlashing] = useState(false);

  const handleDeleteClick = () => {
    // Local UI logic inside the child
    setIsFlashing(true);

    // Then trigger the parent action
    setTimeout(() => {
      handleDelete(id);
    }, 300);
  };

  return (
    <div style={{ backgroundColor: isFlashing ? "#999" : "#fff", transition: "0.3s" }}>
      <p>{name}</p>
      <button onClick={handleDeleteClick}>Delete</button>
    </div>
  );
}
What Is Actually Happening?
Step 1 — The parent owns the state
The users array lives inside the parent component: const [users, setUsers] = useState(...). The parent is the source of truth.
Step 2 — The parent passes data down
The parent sends data to the child with props such as id={user.id} and name={user.name}. Now the child can display the information.
Step 3 — The parent passes a function down
The parent also sends a function, handleDelete={deleteUser}. This is called a callback prop.
Step 4 — The child can run its own logic first
This is the part many React beginners miss. The child can still have animations, local UI state, hover effects, flashing effects or loading indicators before calling the parent function. It updates its own state first with setIsFlashing(true), then triggers the parent action with handleDelete(id):
Child local logic
   ↓
Callback prop
   ↓
Parent state update
Step 5 — The parent updates the state
The parent receives the request and updates the users state with setUsers(prev => prev.filter(user => user.id !== id)). React re-renders automatically and the deleted user disappears.
Why Is This Pattern Important?
It keeps React applications predictable, reusable, easier to debug and easier to scale. The child handles UI, clicks, local interactions and animations. The parent handles shared state, business logic and data updates.
Local State vs Shared State
Another important question is where state should live.
Local state — if only one component needs it (const [isLiked, setIsLiked]), keep it inside the child. Examples: hover, animation, toggles, local UI effects.
Shared state — if several components depend on the same data (const [users, setUsers]), move it to the parent. Examples: user lists, cart items, themes, notifications, totals. This pattern is called lifting state up.
Final Mental Model
Parent
├── State
├── Logic
└── Functions
      ↓ props
Child
├── UI
├── Local State
├── Events
└── Execute callbacks
Once this pattern clicks, React component communication becomes much easier to understand.